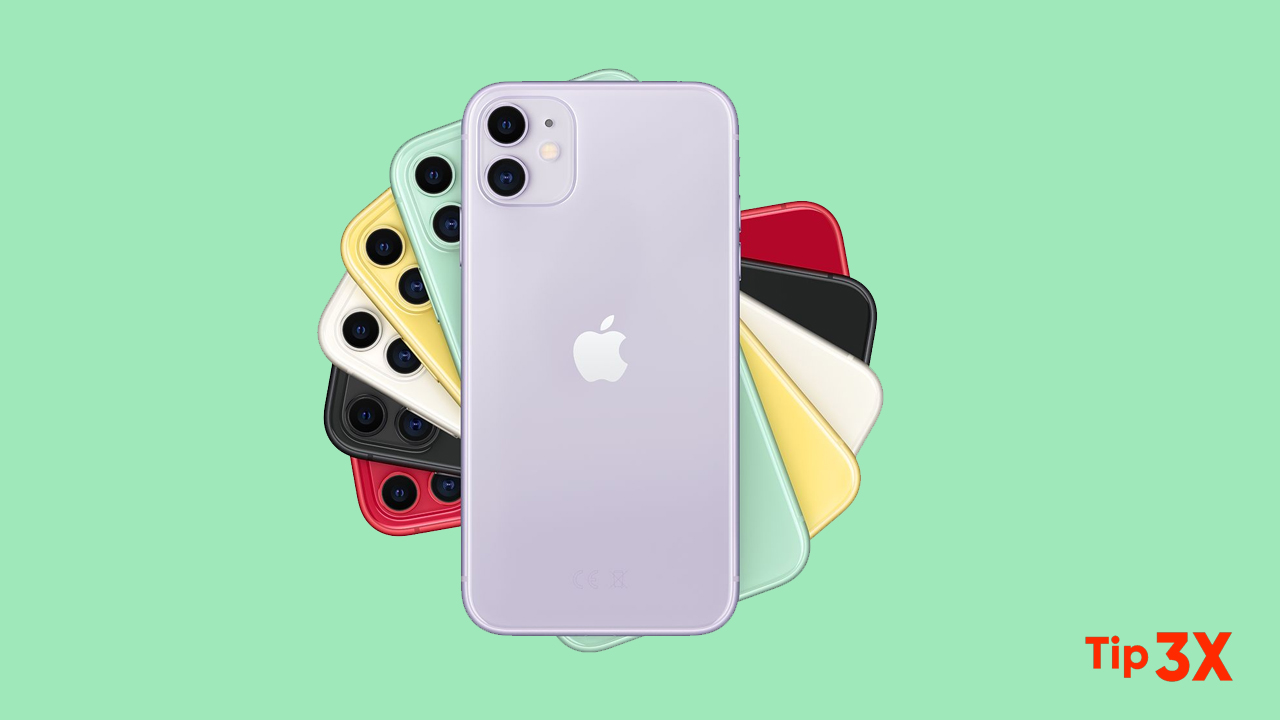
In terms of mobile photography, there are few smartphones that can take better photos and videos than the iPhone. Apple’s “Shooting on the iPhone” campaign showed us the capabilities of the iPhone camera and how users can make the most of it.
In addition, many people also use iPhones to shoot the whole film. All of this is possible because of the features that come with the built-in “Camera” app and how the iPhone handles images and videos.
Therefore, in this guide, we have compiled the 6 best tips and tricks to help you master the Camera App on your iPhone. No need to wait, let’s get started.
1. The Basics: Use Camera App to take photos: Starting from the basics, it is important to know the different ways that you can click a photo on your iPhone using the camera app. It is also important to know how to quickly launch the Camera App so that you will not miss a moment. Please review the steps below to learn how to do it.
How to launch the Camera App on your iPhone:
Method 1: Swipe right from the locked screen to bring up the Camera App. This is the fastest method you can use on your iPhone, and it allows you to start shooting immediately.
Method 2: If you want to capture the moment when the iPhone is unlocked, the lock screen method may be time-consuming. However, you can bring up the control center and click on the “Camera” icon to quickly bring up the “Camera” application.
Method 3: Tap the “Camera” app, and then directly from the iPhone home screen. This is the standard method that many people use to start a Camera on the iPhone.
How to take photos using the Camera App:
Method 1: Open the “Camera” app, and then press the shutter button to take a photo. This is the standard method and can be used when shooting other people or objects.
Method 2: Open the “Camera” app, and then press the “Volume Up” button to take a photo. This is a lesser-known method that can be used when you take a selfie without a selfie stick.
 2. Use continuous shooting mode to quickly take multiple photos: The continuous shooting mode allows you to take multiple photos at once, so you can choose the one that suits you best. This feature will come in handy when you are shooting fast-moving objects. To use continuous shooting mode on your iPhone, what you need to do is:
For iPhone 11 series and iPhone SE 2020:
- Click the “Shutter” button, and then swipe left to take a photo in “Burst Mode”. Release the shutter when you are done, and then click the image thumbnail in the lower-left corner to select the image you want to keep.
For iPhone XS, XR, and older iPhone versions:
- Bring up the “Camera” application on your iPhone, and press and hold the shutter button to take pictures in continuous shooting mode. Click the thumbnail, select the best image, and delete the remaining images.
3. Turn on the camera grid for better composition: If you want better composition in the photo, it is very important to enable “Grid Lines” in the “Camera” app. The rule of thirds plays an important role in the composition. To use it better, you should enable grid lines in the Camera App of your iPhone. To turn on the gridlines, all you need to do is:
Step 1: Open Settings and scroll down to your Camera settings.
Step 2: Toggle the Grid button to turn on Grid in your Camera App.
4. Set a timer in the camera app: If you want to take a self-portrait, it becomes important to use a timer in the “Camera” app. The built-in Camera app on the iPhone allows you to choose from two shooting times, and then take a photo.
Compared with other camera apps, there are fewer options available in the timer section, but it can get the job done. To set a timer in the Camera App, what you need to do is:
For iPhone 11 series and iPhone SE 2020:
- Open the camera app and tap the arrow at the top of the screen. Press it to pop up a new menu. Click the “Timer” icon, and select 3 seconds or 10 seconds as the duration before you click the photo
For iPhone XS, XR, and earlier models:
- Just follow the same steps as above to skip the arrow part to activate the timer on your iPhone.
5. Use filters: Normal images can be boring, so it’s important to use filters to make photos more visually appealing. The filter changes the overall tone in the image and makes it look better compared to the original tone.
iPhone provides 10 filters, you can use them when shooting images, because they are real-time filters, so you can see the effect in real-time. To apply a filter when capturing an image, all you have to do is:
Step 1: Start the Camera App on the iPhone, and then click the arrow above.
Step 2: Click the “Filter” button to call up the available filters.
Step 3: Choose the filter that best suits your image and click on the photo.
6. Use portrait mode and lighting effects: The portrait mode in iPhone allows you to blur the background when taking pictures, and it also provides some lightning effects to make your photos look more professional. To use portrait mode on your iPhone, what you need to do is:
Step 1: Open the Camera App on the iPhone, and then switch to Portrait Mode.
Step 2: Choose the lightning effect that best suits your image and take a photo.
It should be noted that iPhone SE 2020 and other iPhones released before iPhone 11 only support portrait mode to shoot people.


